(I was this close to titling the page "Phoraging on the Phamily Pharm = Phree Phood" in homage to my pharmaceutical background where "Ph" is used as much as possible and pronunciations are made up, but then I knew I'd hate myself. Lucky you.)
 |
Mini Pie filled with foraged berries! It all comes together! And my second-ever
lattice crust. I feel incredibly accomplished. |
Free is good. Foraging for your own free berries that cost ridiculous amounts in supermarkets or simply aren't available is way better.
 |
| Black raspberries make pretty stains. |
There was a family reunion recently and my parents and I took some time to tromp around my grandparents' and late great-grandparents' farms.
 |
| The barn on my late great-grandparents' farm. It's huge. |
 |
| Inside the barn. Isn't it wonderful? |
 |
The granary. It has slatted bins on each side for ear corn and a space above
for loose grain. |
While in the largely defunct orchard at my great-grandparents' farm, we saw a bush loaded with gooseberries. Mom and I each picked a handful, joking that I could make a tart.
And then we saw more bushes. And some mulberry trees. We stepped into full-on Foraging Mode. In the absence of aprons, we had to make do.
 |
Mulberries are very delicate and if your hands aren't purple by the time
you're done, you're not doing it right. |
 |
The barn at my grandparents'. Excellent for various pirate adventures when
we were children due to the two separate piles of moldering hay bales with
a rope swing conveniently situated to swing between the "ship" and "land." |
 |
The granary. It has four solid-sided bins that are filled from above. An elevator
runs grain through the upper window into the upper level and the grain then
falls through 12x4" openings in the floor to the bins below. |
Then we headed over to my grandparents' farm and availed ourselves of the black raspberry bushes taking over a ditch and foraged the edges of the timber surrounding the yard for more raspberries and mulberries. When I got home, I weighed it, and we ended up with just over two pounds of fruit.
 |
I promise they didn't come in the clamshell! That's just what we found that
we could dump our haul into. |
 |
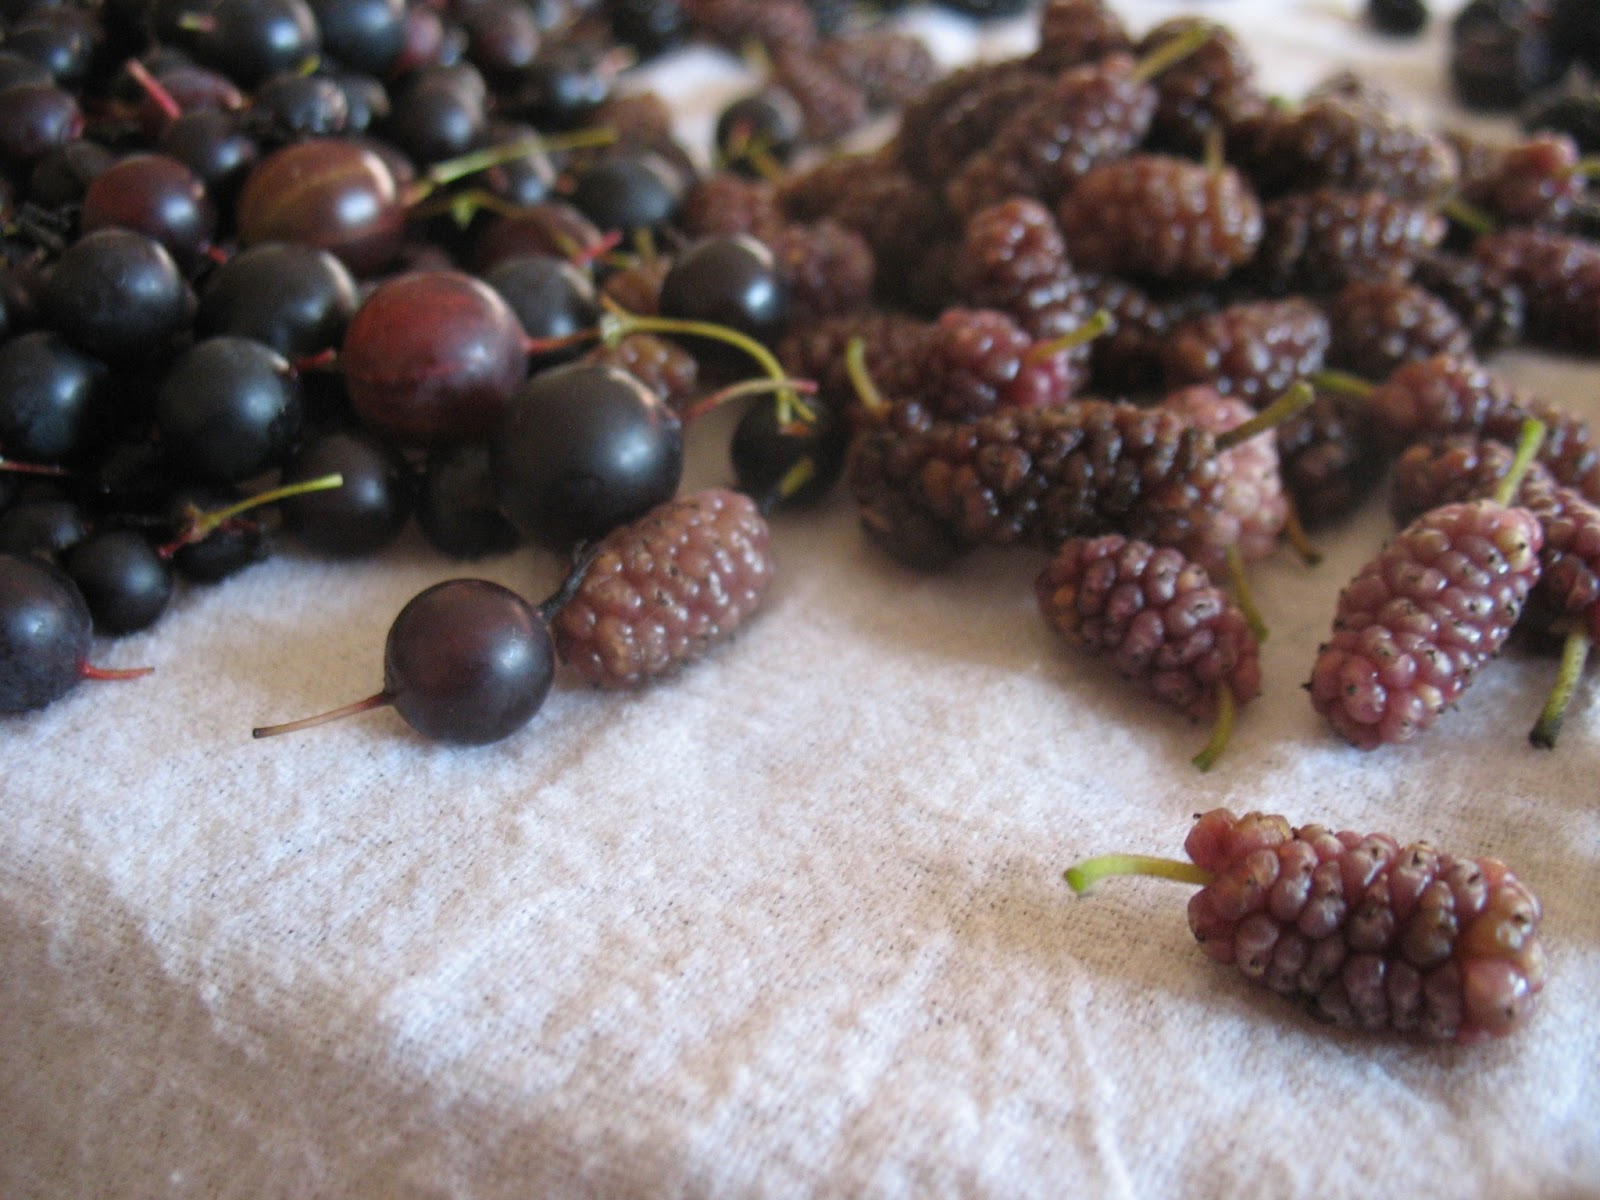
The whole delightful haul. Post washing. Gooseberries in the foreground,
mulberries in the left corner, white mulberries in the middle and black
raspberries in the back. |
So I had to make some sort of pie. I didn't really want to make a pie that involved cooking the fruit into a mush before pouring it into the pie shell so I looked for a pie made with fresh berries. The only one I found was from an old "Farm Journal's Country Cookbook" from back when avocado green cookbooks sounded like a good idea.
I also didn't wan't to cramp my style by limiting myself to a single pie. So I made some mini pies in muffin tins! This allowed me to make various pies such as gooseberry, gooseberry-mulberry, and mulberry-black raspberry, and black raspberry. (Mulberries need something else with them, whether another berry or rhubarb is up to you. Mulberry-only pies are gross.) I'll give the recipe verbatim, then note my changes afterward.
 |
Empty shells, berries heaped pre-sugar-flour addition, post addition, and
butter patted, awaiting lattice or whole-crust tops. |
 |
| Mulberry-Gooseberry. Gorgeous color. |
I used Mom's Never-Fail Pie Crust. Except I did my best to make it fail by tweaking it just for fun. The changes I made were to use a spice grinder to grind one cup of oatmeal into flour (to add some whole grains and maybe a different taste) and used half shortening and half butter (butter tastes better, but shortening is less expensive). And it still worked! Easy to roll out and a flaky result after baking. This is a solid recipe.
Never Fail Pie Crust
3
c. flour (I used 1/3 oat flour)
1 T
sugar
1
c. shortening (I used 1/2 butter and half shortening)
1
tsp salt
1
tsp vinegar
1
egg
Cut
shortening (and butter, if using) into flour and sugar with pastry cutter until crumbly. Mix together salt, vinegar, and egg in liquid measure and fill
to ¾ cup mark with water. Add to flour mixture. Knead slightly and divide into 3
parts. Roll and fold into quarters for transfer to pie pan. Bake at 410°F for
the first 10-15 minutes, then turn down to 375°F for the remainder of the cook
time (as prescribed by filling recipe).
*I rolled 1 1/2 inch balls for each muffin tin. Makes at least 12 double-crust muffin-tin pies.
**Makes enough for 3 full-size single-crust pies and enough for at least 2 double-crust pies. Remember to cut decorative vents in the upper crust with a knife or cookie cutters, as desired.
***Dough may be refrigerated for a week or so or frozen for... awhile... if you have excess.
Gooseberry Pie
Pastry for two-crust pie
1 1/2 cups sugar (I only used 1 cup and that was sufficient)
1/2 cup flour
4 cups fresh gooseberries
2 Tablespoons butter or regular margarine
Stir sugar and flour together.
Distribute half the gooseberries in pastry-lined 9-inch pie pan. Sprinkle with half the sugar-flour mixture. Top with remaining gooseberries and then with remaining sugar-flour mixture. Dot with small pats of butter.
Add top crust with vents cut in it; seal and flute edge. Cover edge of pie with foil to prevent over-browning.
For a sparkly, pretty crust, lightly brush the tops with a little milk and sprinkle with sugar. This will cook into a crispy topping.
Bake in 410°F oven for 10-15 minutes, then turn down to 375°F for 25-30 minutes, until juices start to bubble through vents; remove foil last 15 minutes of baking. Cool.
*I put a half filled each pastry-lined muffin tin with berries, put a tablespoon or two of the flour-sugar mixture on the berries, filled the tins to heaping with berries, put a couple more spoonfuls of the flour-sugar mixture on and then topped it all with a few thin pats of butter. Use a couple extra scoops of the flour-sugar mixture if your pie only has gooseberries in it. Those are more tart and could used a little help. To bake, bake at 410°F for 8 minutes, then turn down to 375°F for 12-15 minutes or until juices are bubbling and tops are golden brown. I did not need foil protectors for the mini-pies.
**This recipe also works for finely chopped peaches. I sprinkled a few pinches of cinnamon on top of the fruit before adding the sugar.
 |
Baked goods only count if they're displayed on parchment paper or burlap.
Or barnwood. Well, two out of three isn't bad, and anyway, my grandpa
might have objected if I started ripping siding off his barn. |